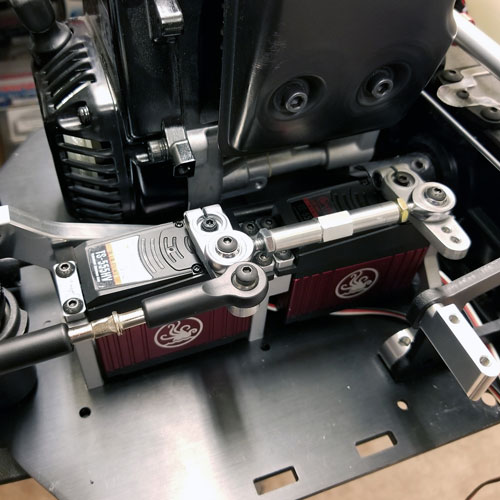
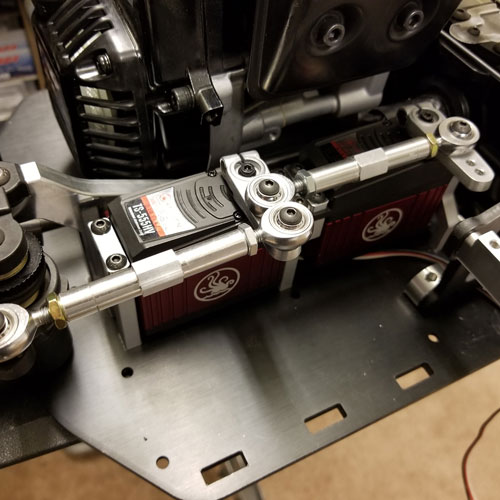
VKT008
KRAKEN Vekta.5 FFRC/IRP DUAL STEERING SERVO MOUNT KIT
Part no. VKT008
This kit is designed to allow you to use two matching stock Kraken or two matching Hitec DW845WP servos. May accommodate other servos as well. We highly recommend using identical servos and servo horns to prevent one servo from "pushing" the other causing failure.
Contests of kit:
3-Machined Aluminum Servo mounts
1-Assembled IRP Aluminum link and spacer bushings
4-M4 Aluminum Servo Clamps
6-4x12 FHSC
9-4x12 BHSC
1-4x25 BHSC
1 M4 Nyloc



-
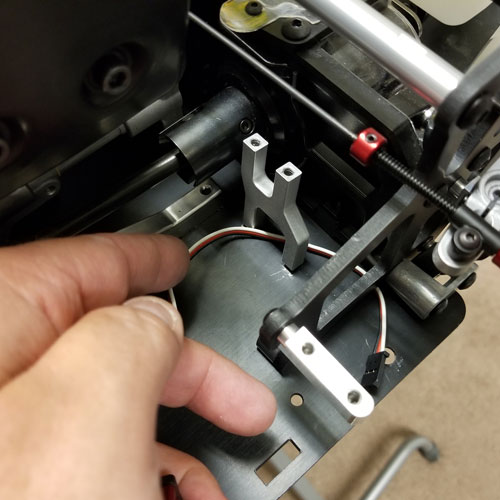
Our servo mounts bolt directly to the main chassis. They eliminate the stock plastic mounts on the factory radio box. You will need to cut the plastic mounts off using a dremel or a fine toothed hacksaw blade. You can clean the edges of the cut radio box with some sandpaper. If you do end up with a hole you can use some silicone to seal it up.
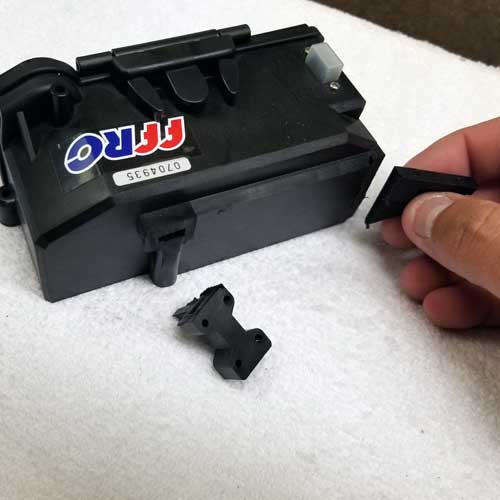
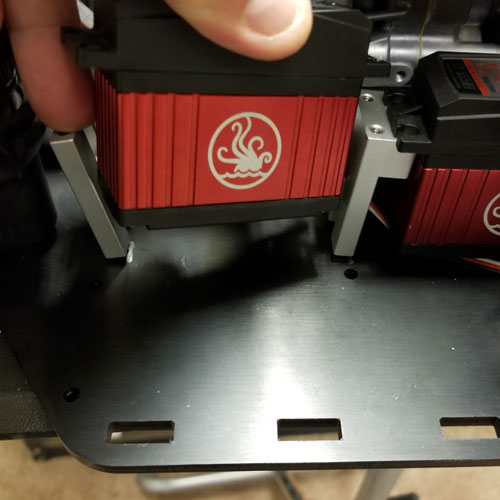
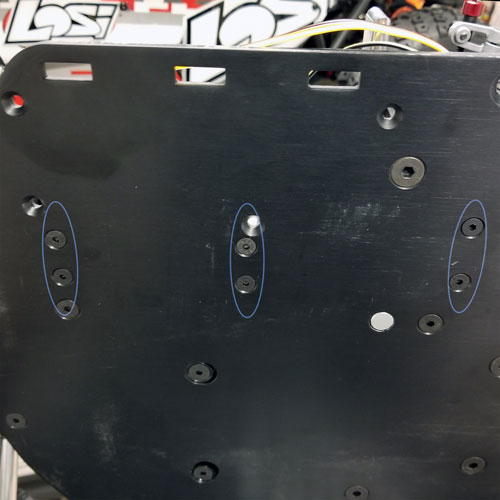
- Using the supplied 4x12 FHSC screws loosely fit the three servo mounts onto your chassis. Do not tighten down completely till you have placed the servos into position.
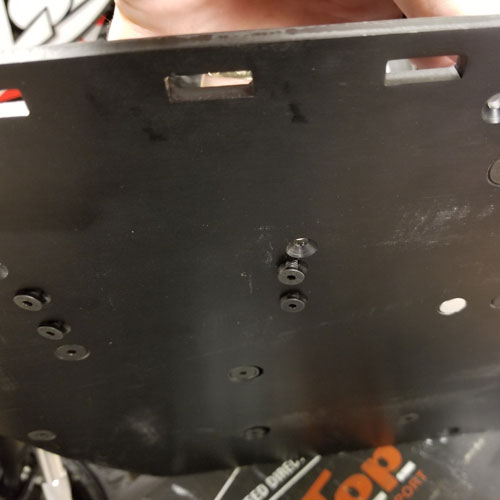
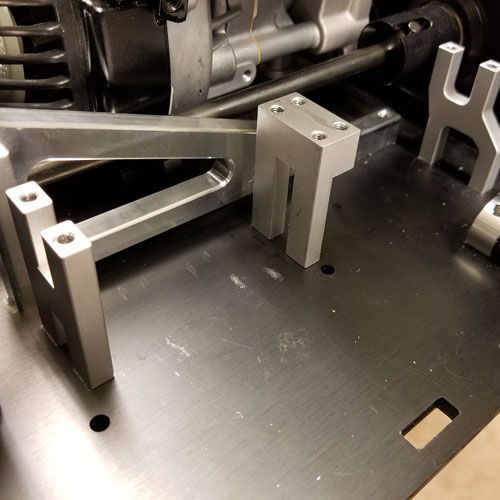
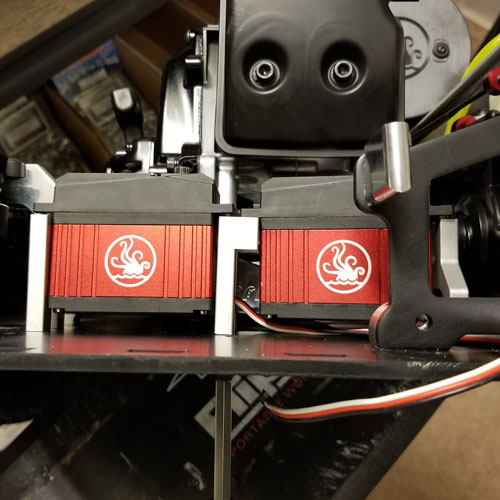
- Pictures here show the install of two matching Hitec D845WP Servos. Route your servo wires as needed and make sure not to pinch of the wires. Once the servos are in place tighten the 6 FHSC screws holding the mounts to the chassis below. Place the provided M4 servo clamps and tighten with the provided BHSC screws. There will be a bit of play and movement in the servos which allows you to line them up straight. Make sure to clear the stock drive cup on the rear servo and mount so there is no rubbing.
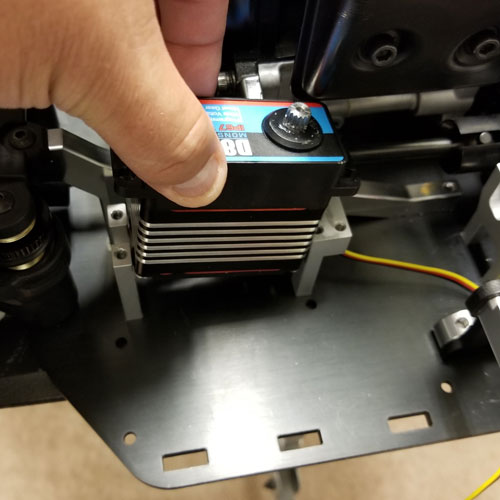
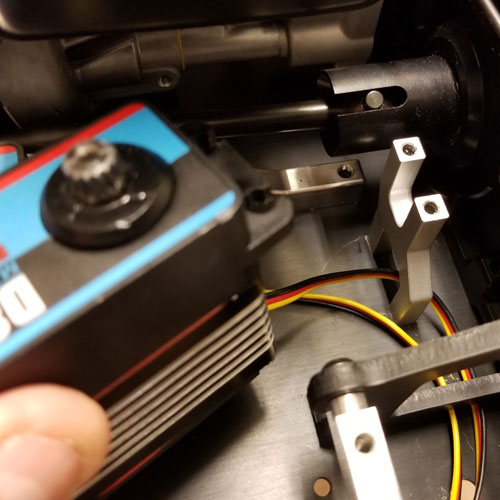
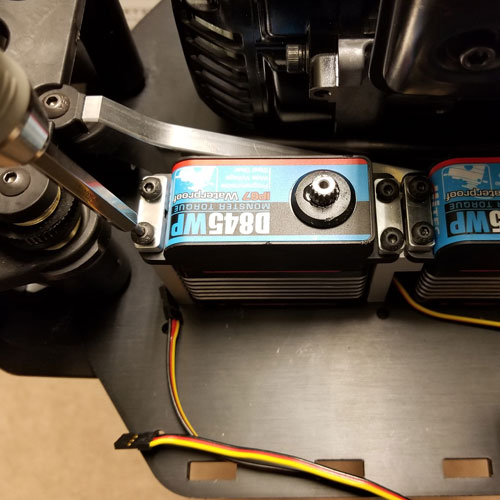
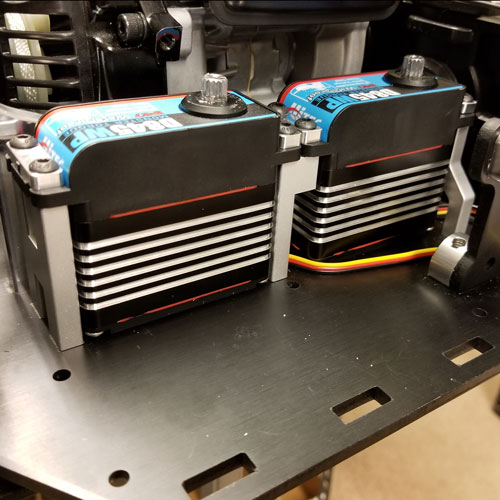
- The Hitec D845WP servos will come with aluminum servo arms if purchased from Davesmotors.com. These servos use a 15 tooth course servo arm. The stock Kraken servos use a 25 tooth fine gear and will not work on these.
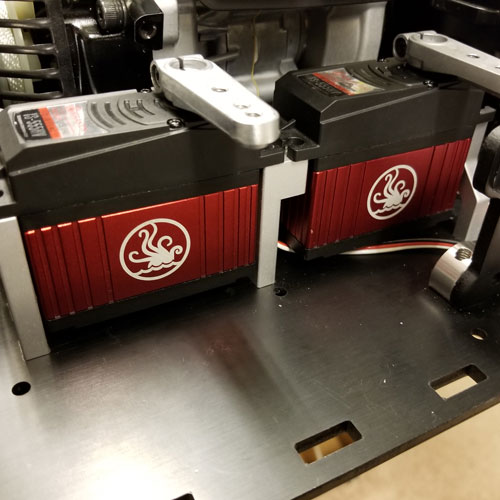
Assemble the servo horns and the provided IRP link as shown. You may need to run an M4 tap thru the holes on the servo horns if they are not threaded. Make sure to use the included spacer bushings on the inside of the rod ends. Once assembled get ready to place onto the servos. It is a good idea to connect your servos before installing the servo horn assembly to make sure that they are centered. Using a Y Splitter (not supplied) energize your servos and test the operation. Then install the servo arm assembly and make any adjustments needed to the link.
Using the DDM servo horns the link must be placed below the servo horns.
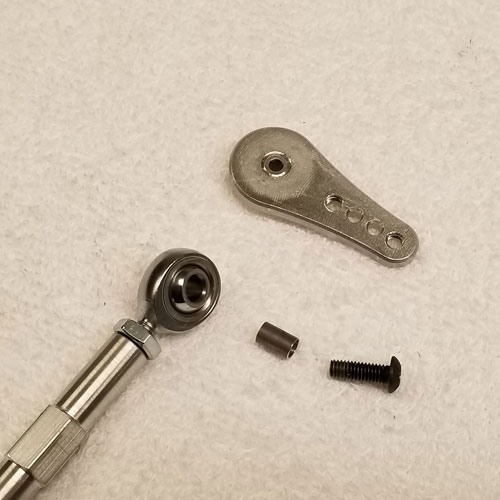
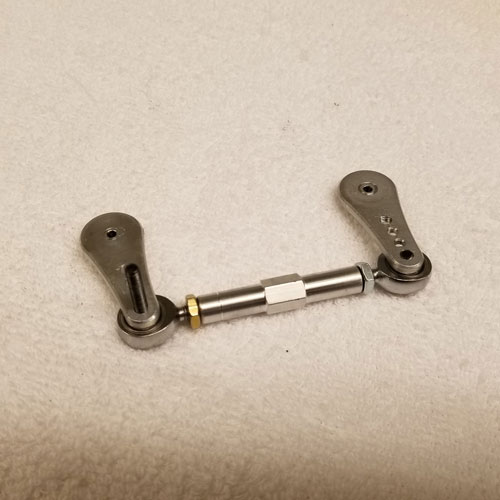
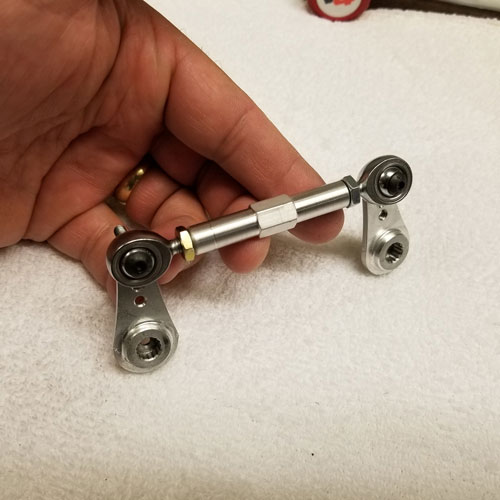
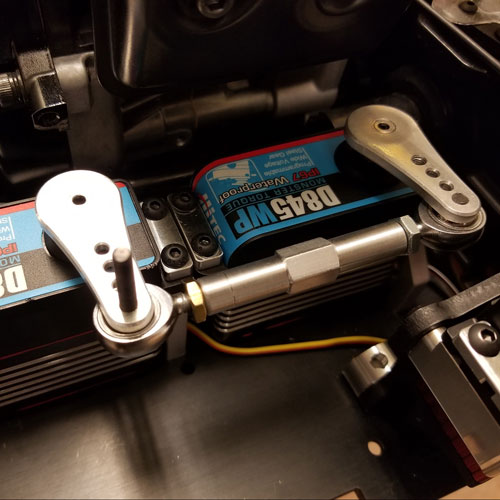
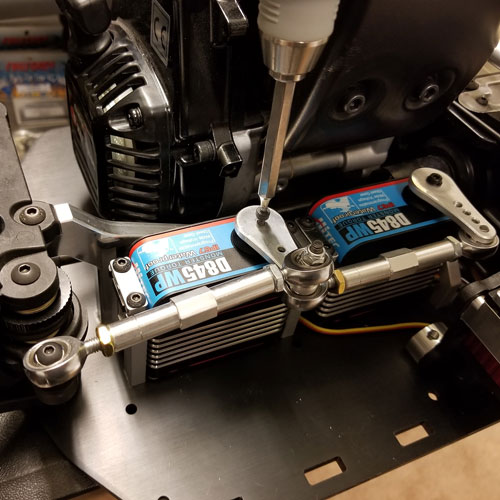
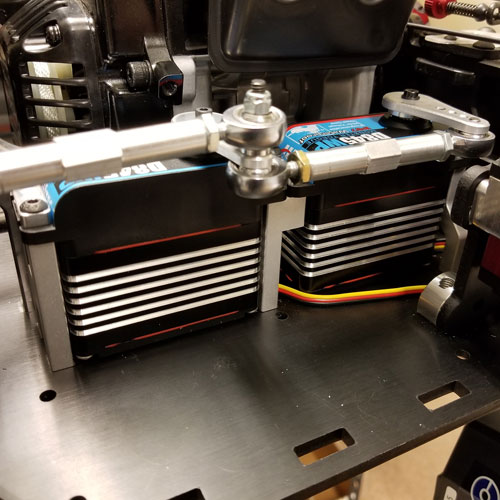
- Very similar process for installing a matching set of stock Kraken servos. Route your wires as needed and tighten down the servo mounts. The only difference is that you will need to purchase an additional Kraken servo horn (KV4441) to use on the rear servo. The Kraken servo arms will accommodate the IRP link on top as shown in the pictures below.
