SLS094
|
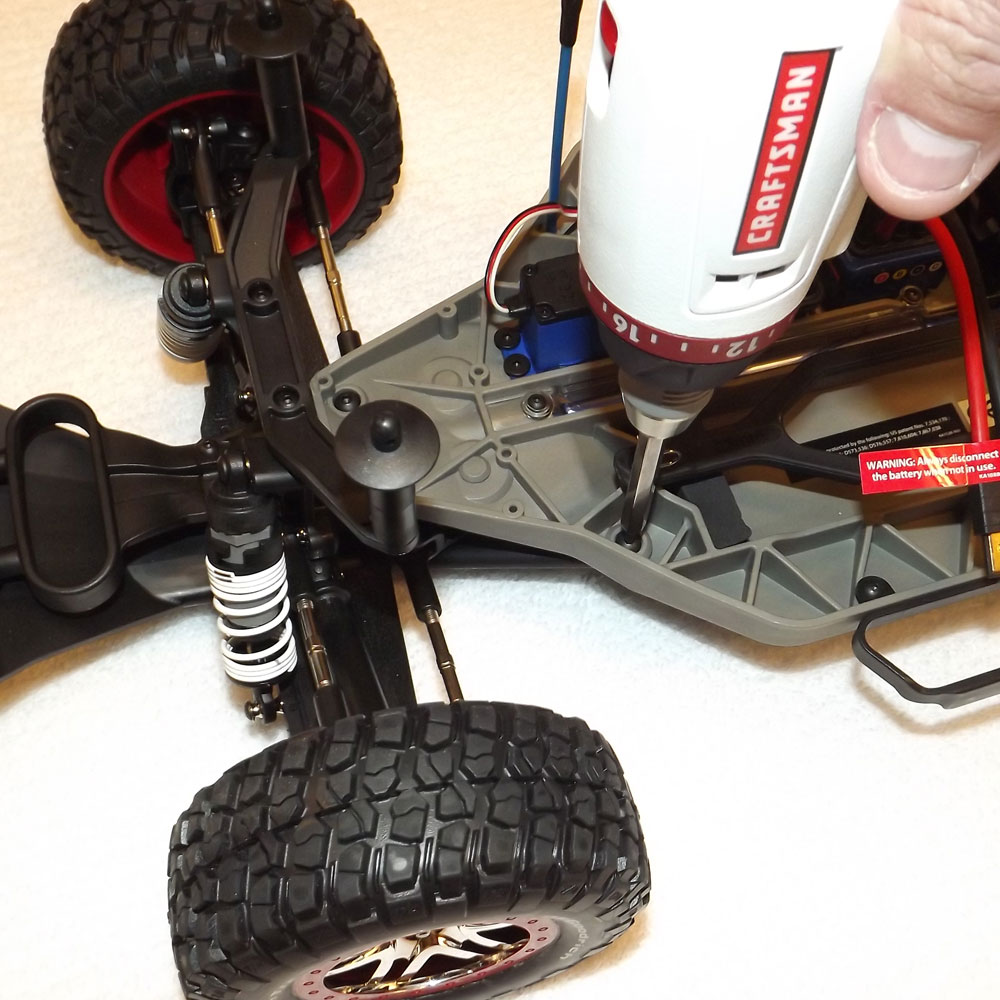
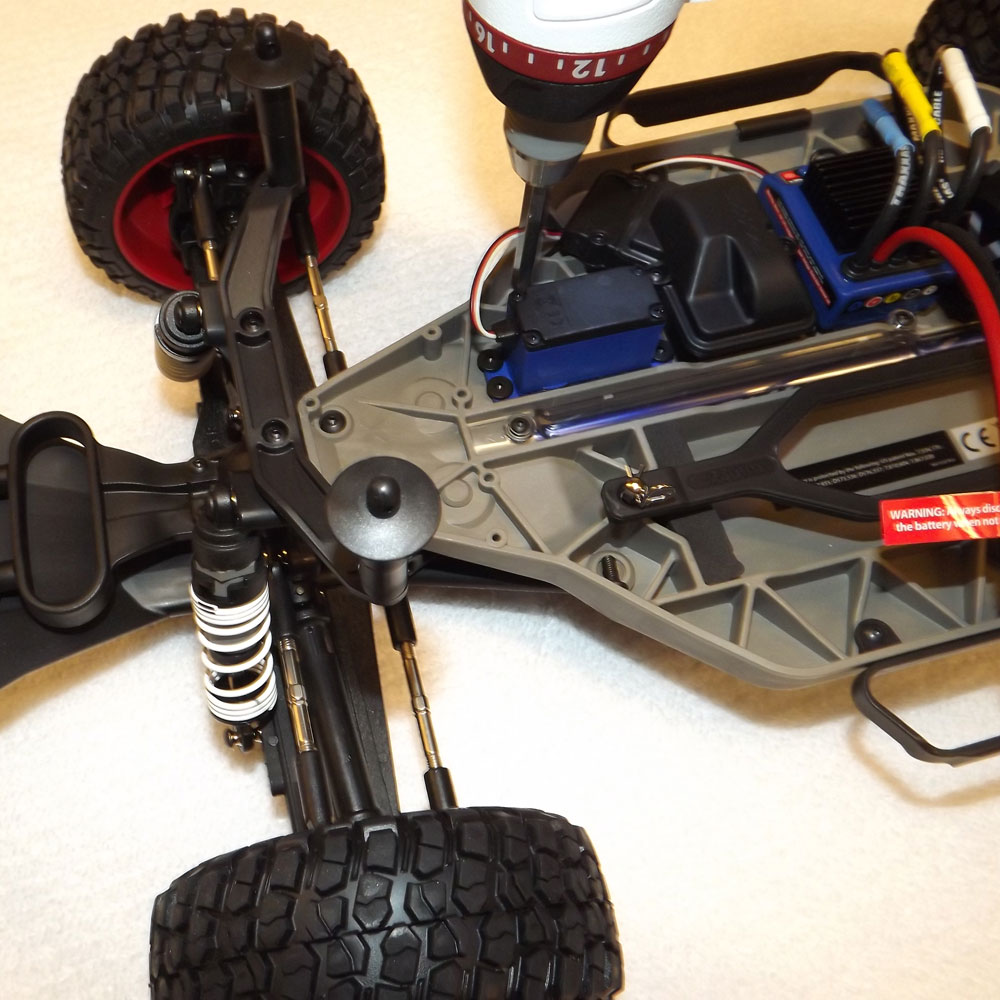
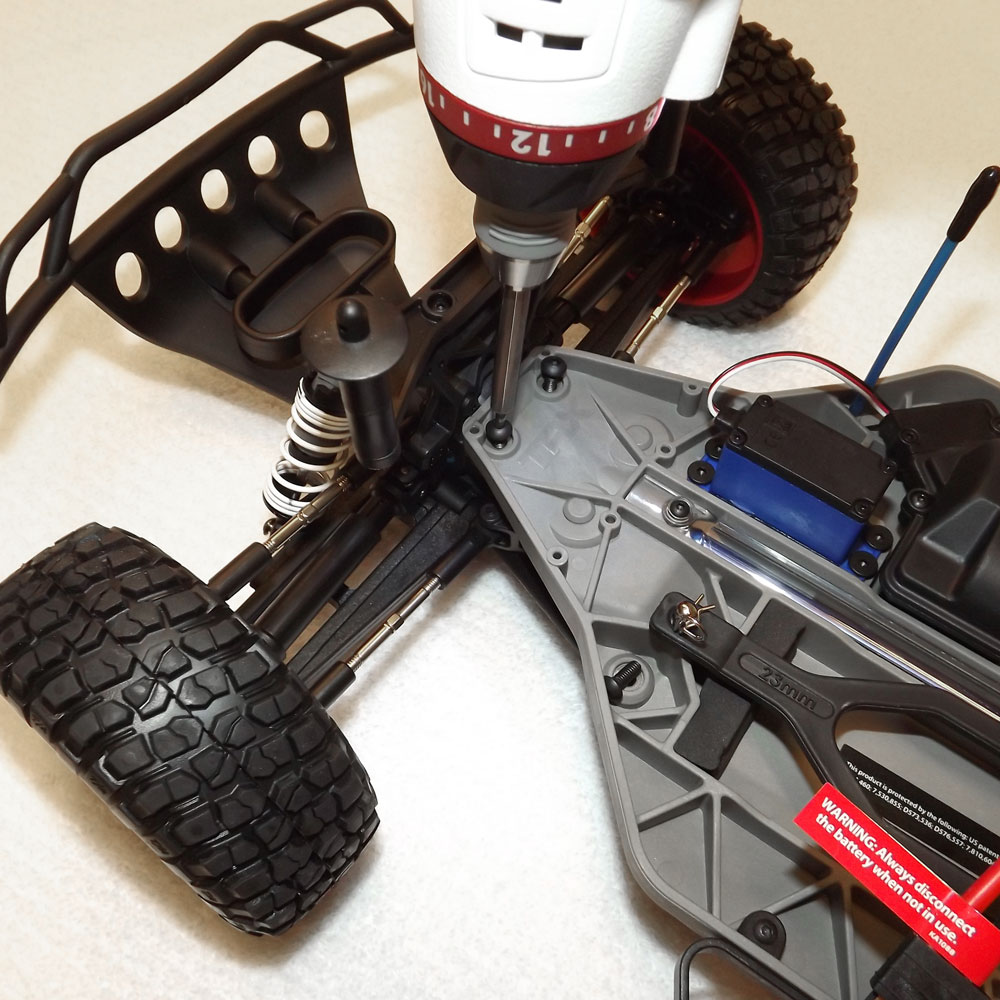
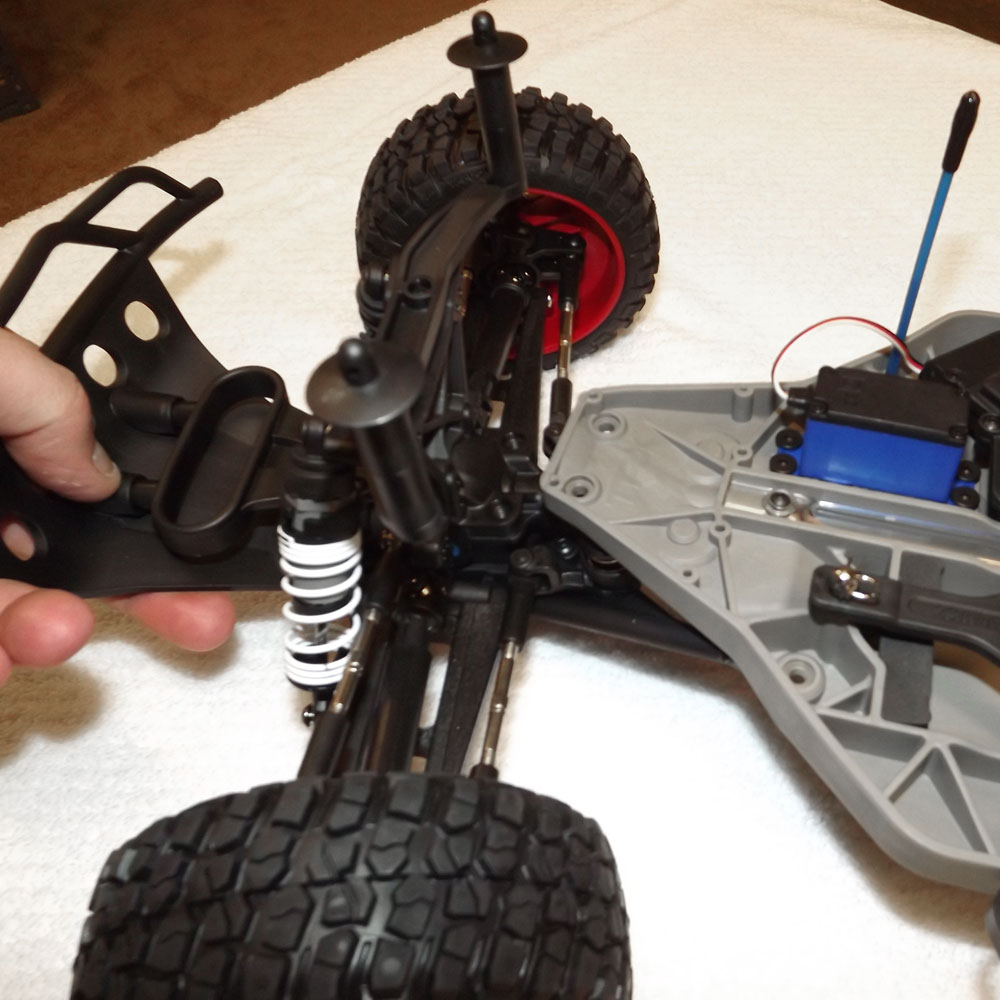
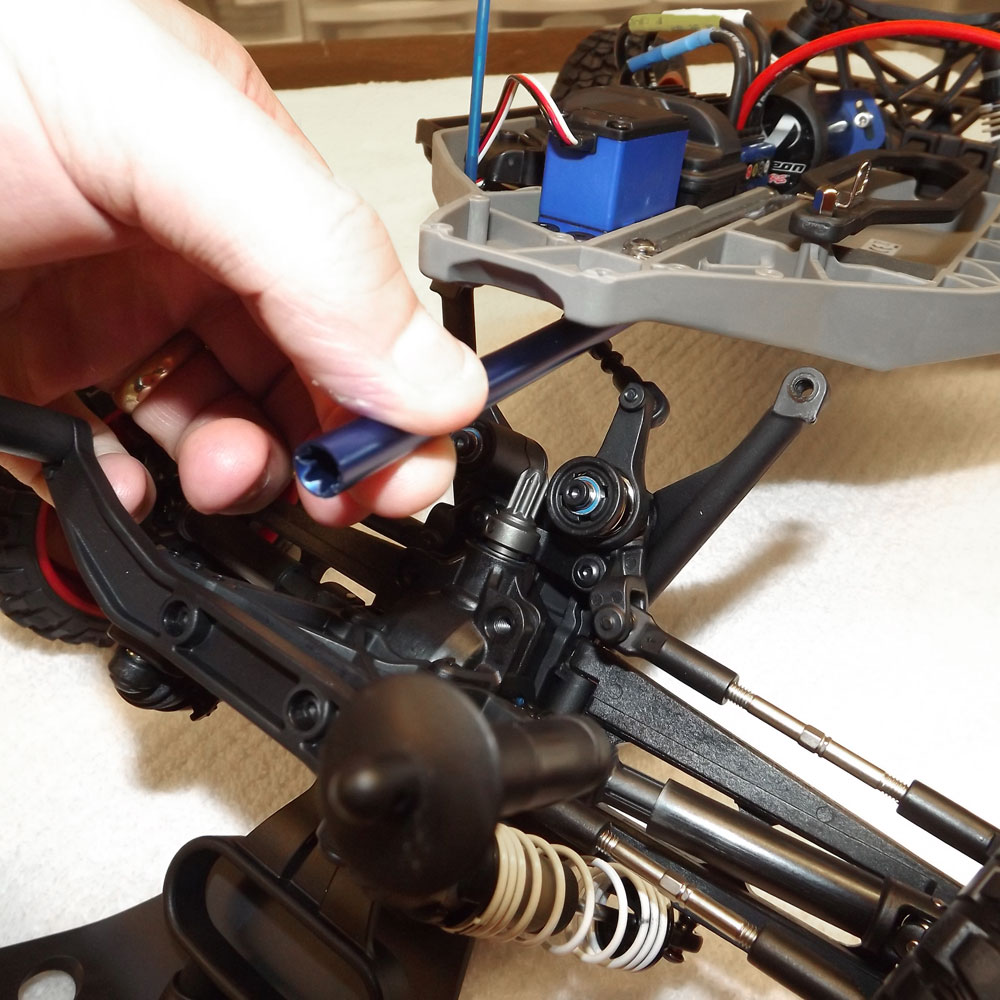
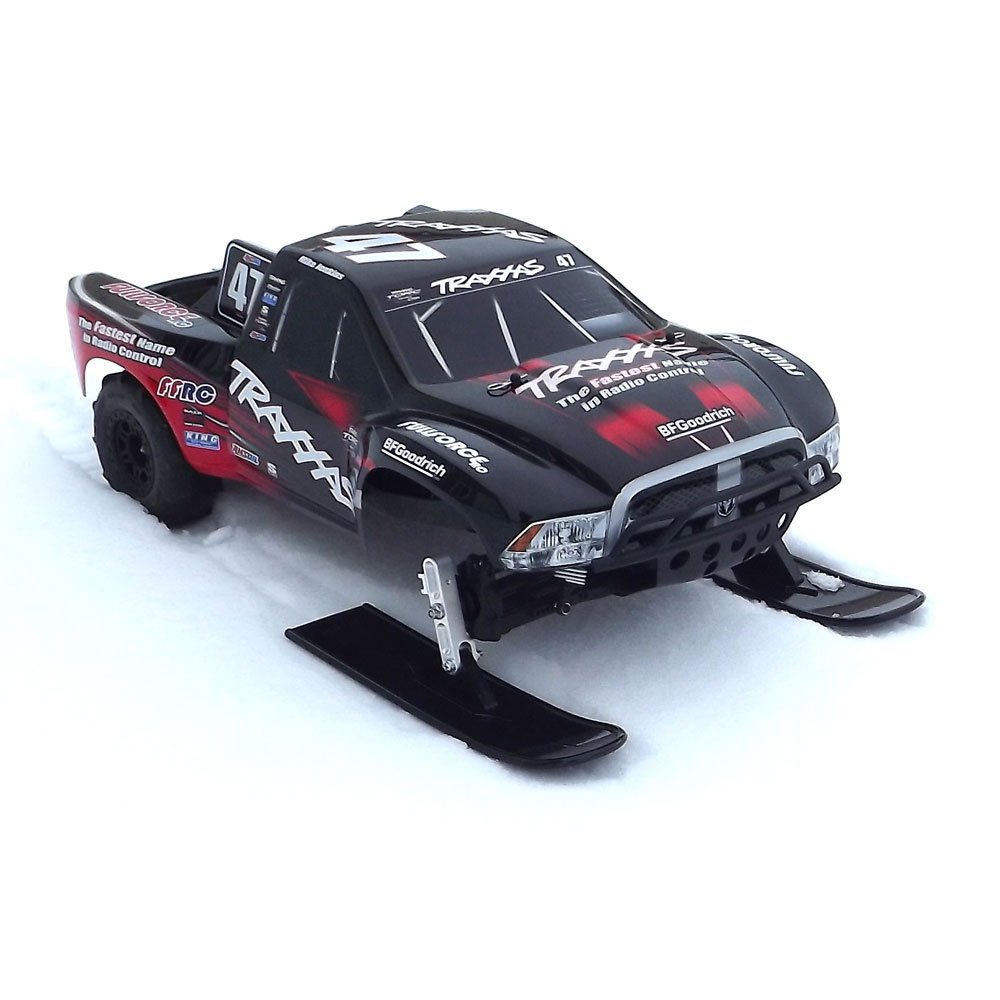
4WD TRAXXAS SLASH & STAMPEDE WINTER SKI KIT INSTALLATION Part no. SLS094 To begin, you must be aware that if you do have water proof electronics that you should water proof in some way. Either by the use of balloons or plasti-dip or any other method that you may prefer. It is very important that you are aware of the risk of having your electronics damaged when exposed to water. A bit of time spent on this will save you from any potential damage. To begin you will need to convert your truck to 2WD. The easiest way to do this to to remove the four M4x12 BH screws from the front of your chassis, pull the front end of the truck away and slide out the drive shaft. This is a very simple procedure and only takes a few minutes to do. The pictures below illustrate the process. Be gentle when pulling the front end away from the chassis as you can leave the steering link attached but you don't want to put a lot of pressure on it.
Once the drive shaft is removed simply attach the front end with the four screws you removed. You truck is now converted to 2WD. To return to 4WD just reverse the procedure and re-install the center shaft.
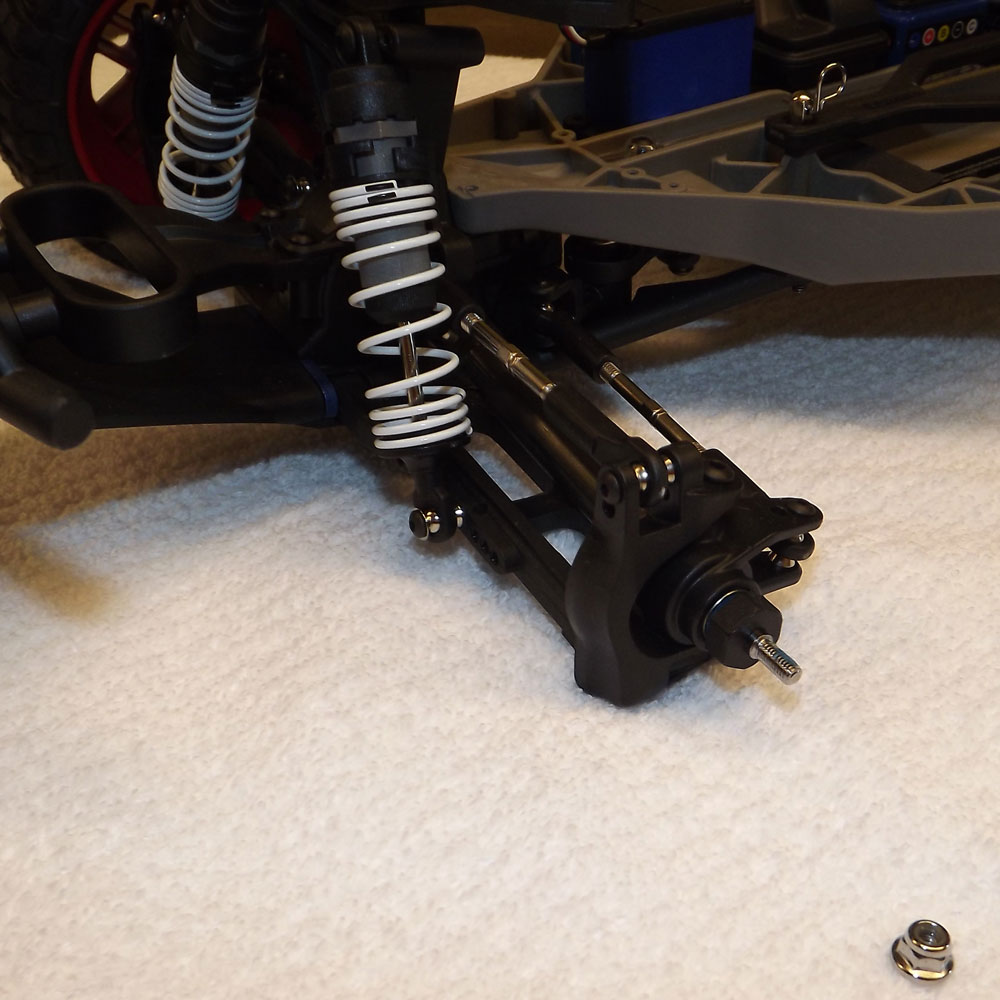
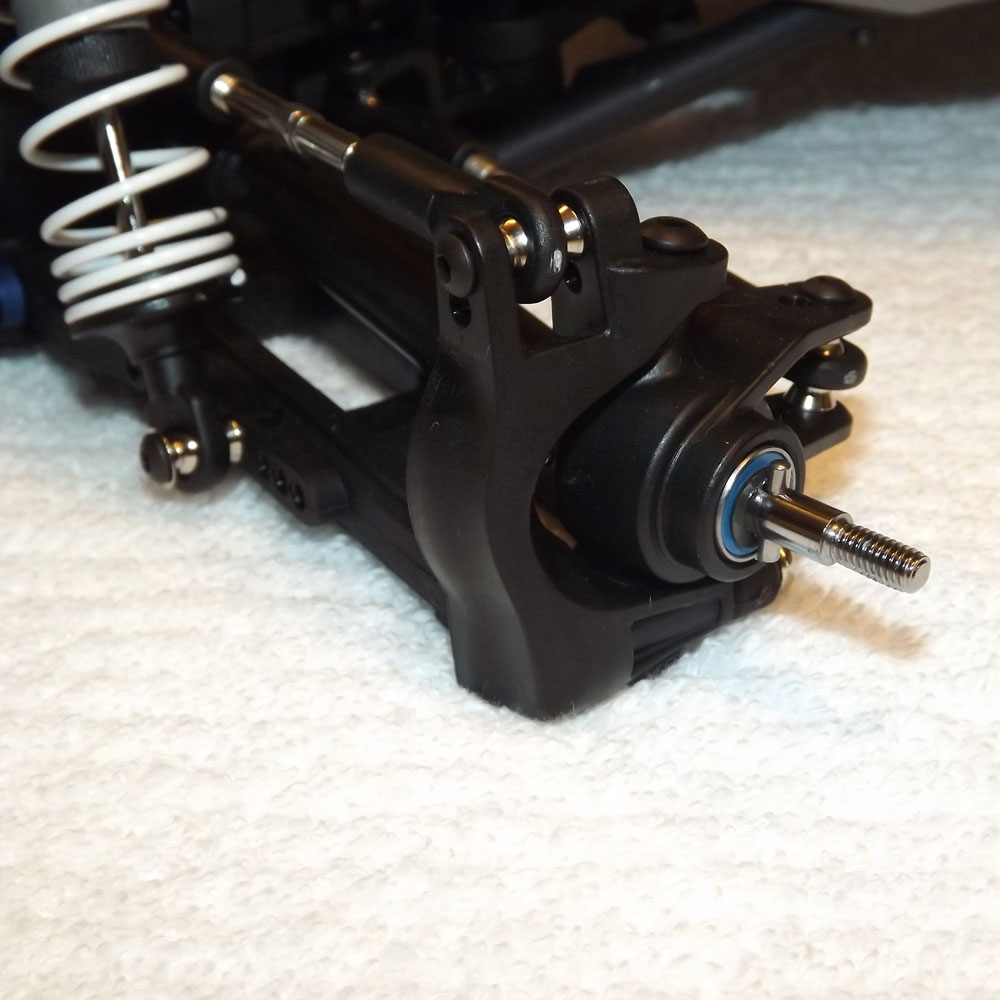
Remove both front wheels. Remove the wheel hex but leave the hex pin in place. You can use a tiny bit of grease to keep the pin in place as it may tend to want to drop out of the axle in the vertical position as shown in the picture below. The pin will anchor the main bracket and allow you to tighten the wheel nut back on.
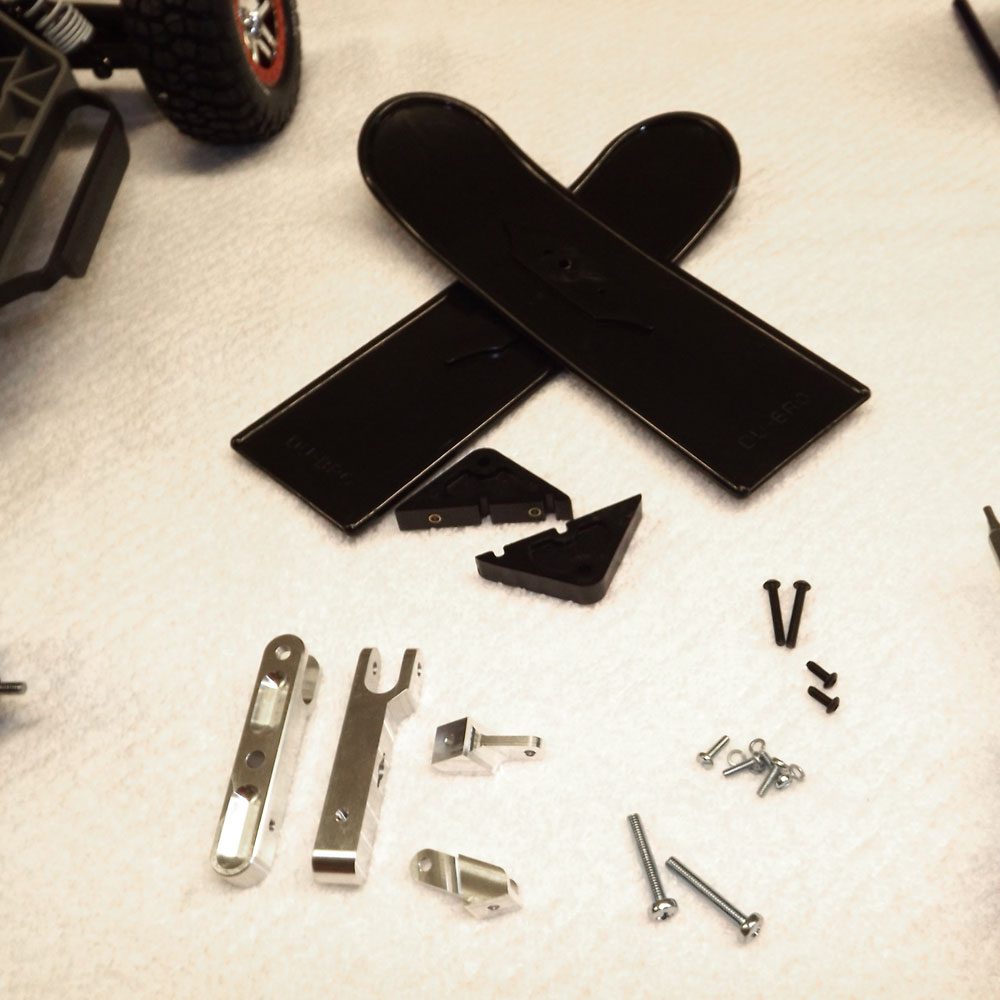
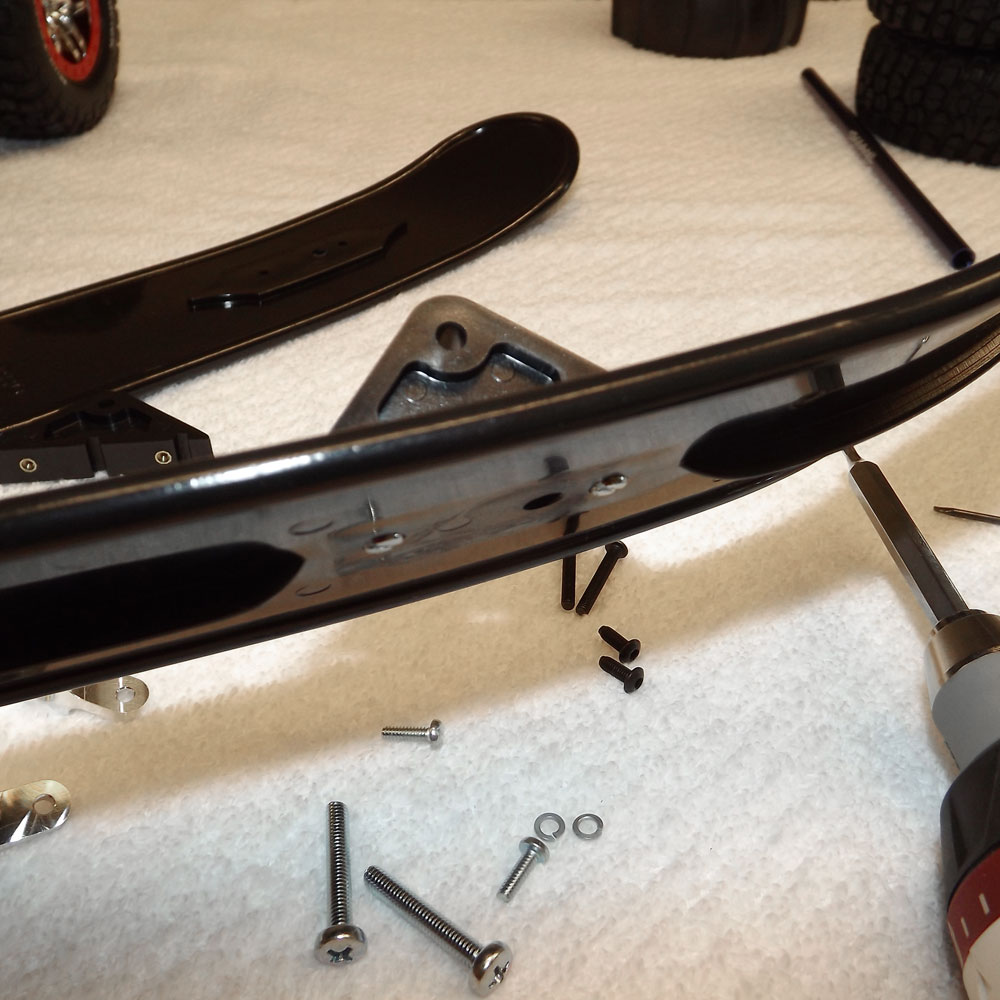
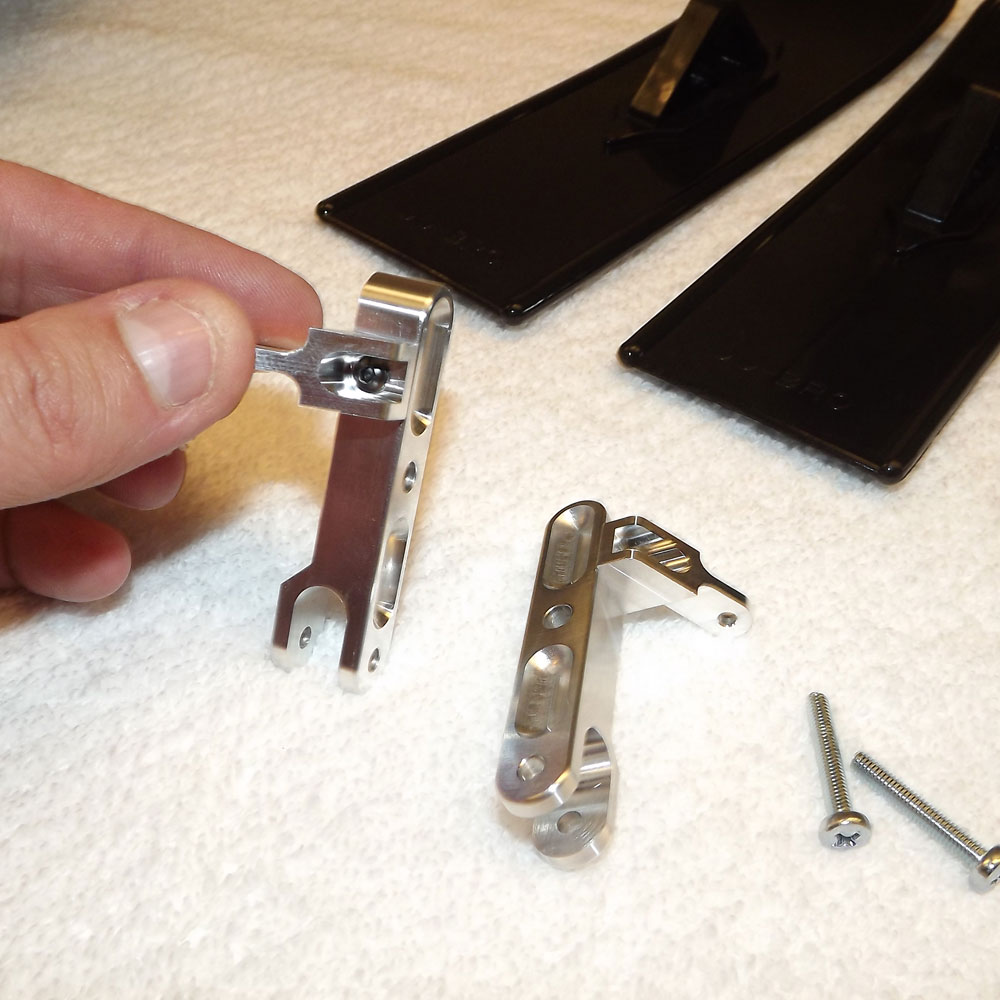
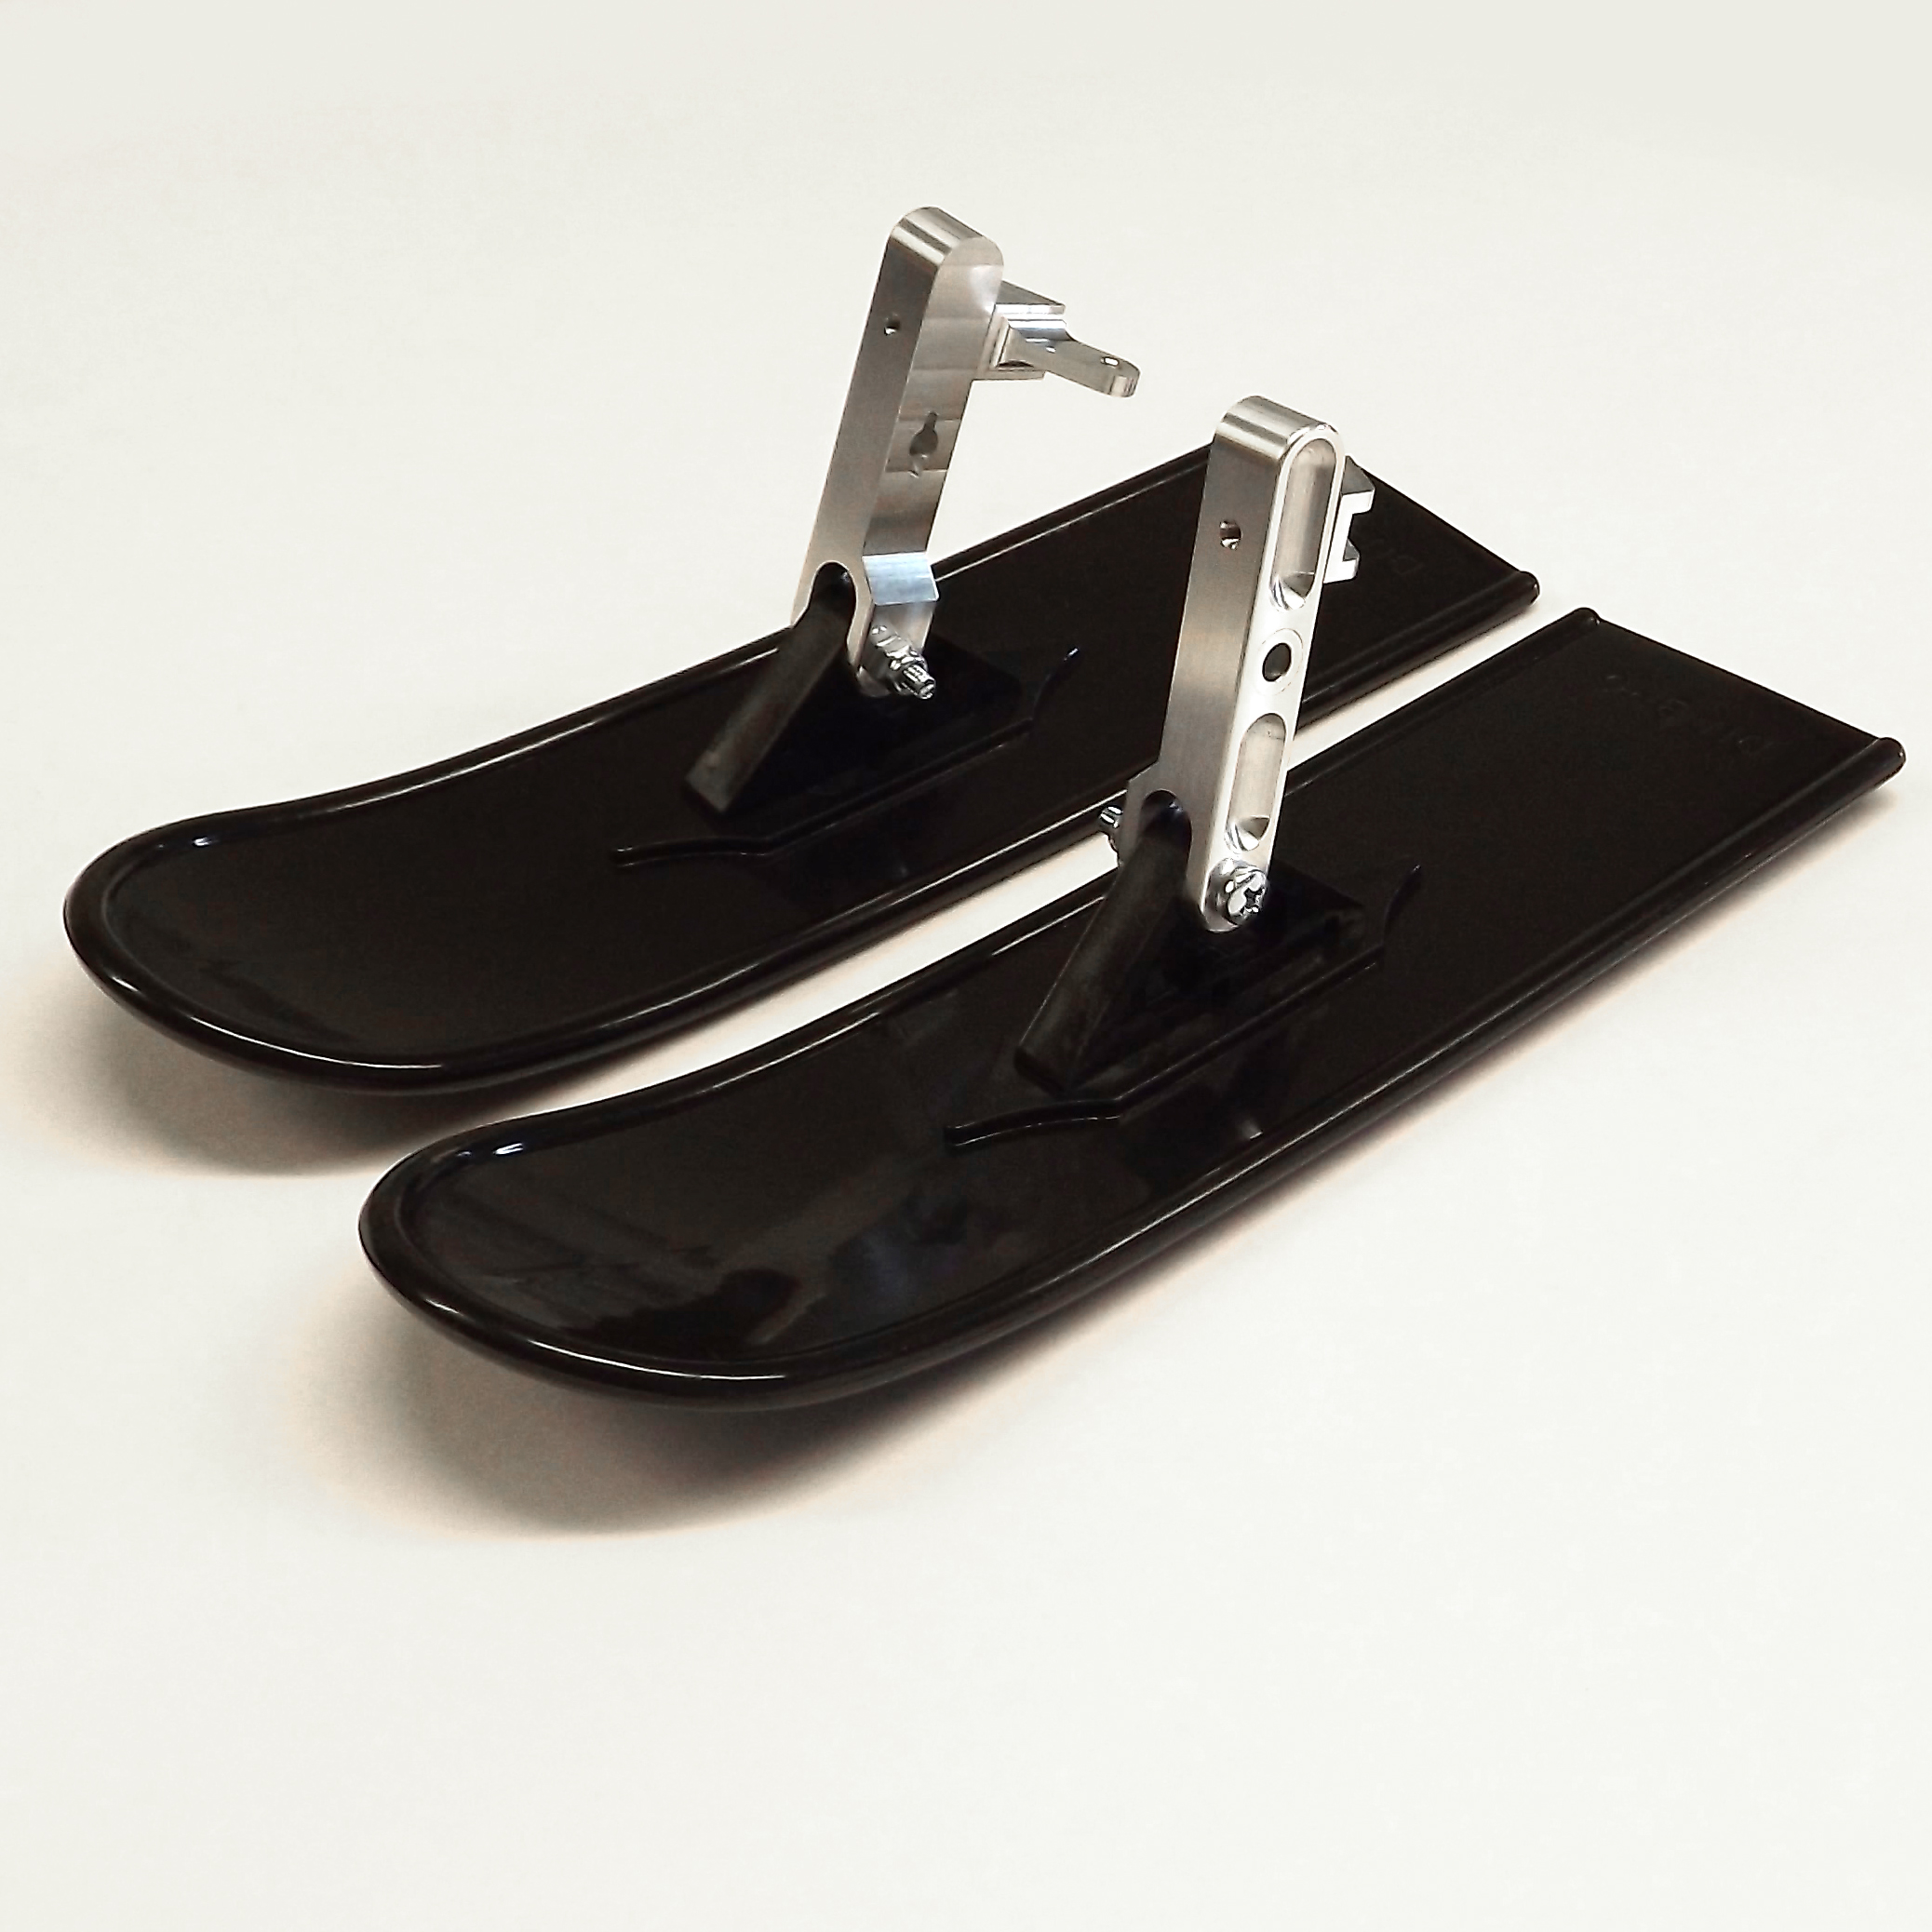
Assemble the skis as follows: 1) Attach the skis to the plastic blocks using the 4-40 screws and spring washers provided.
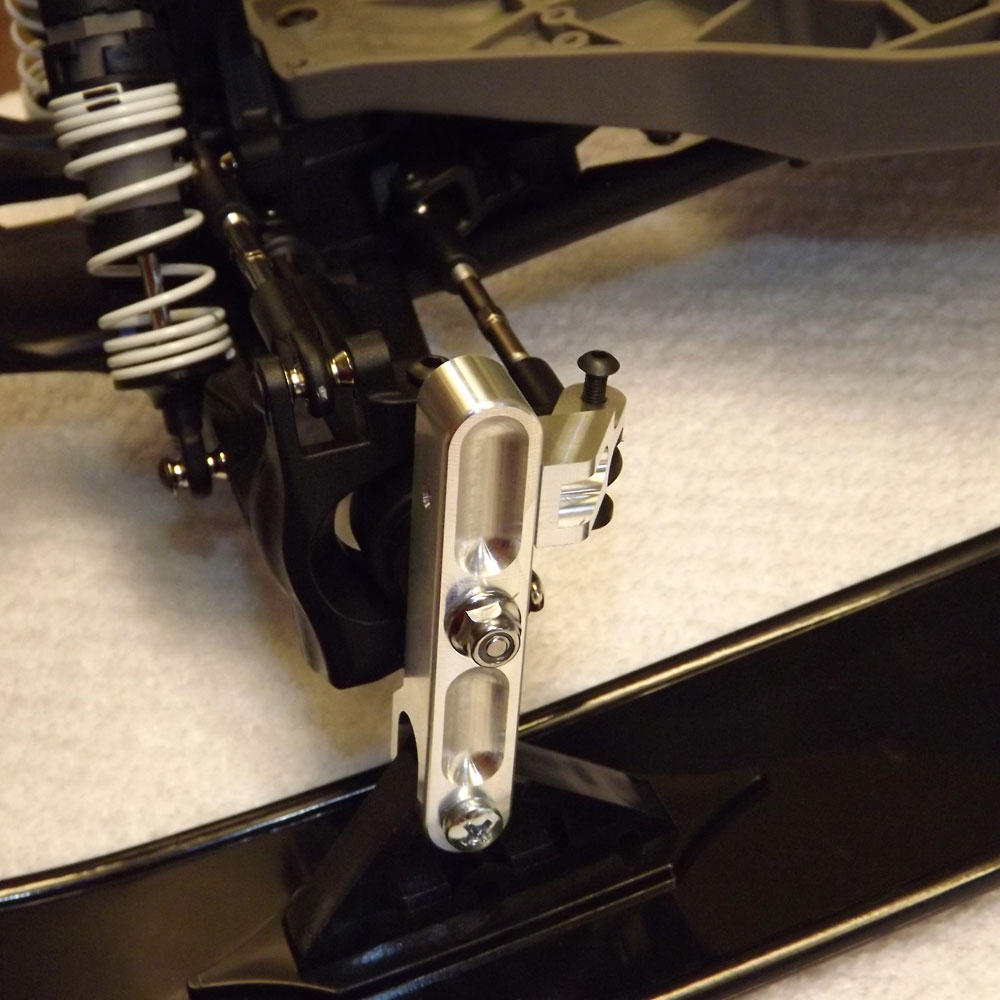
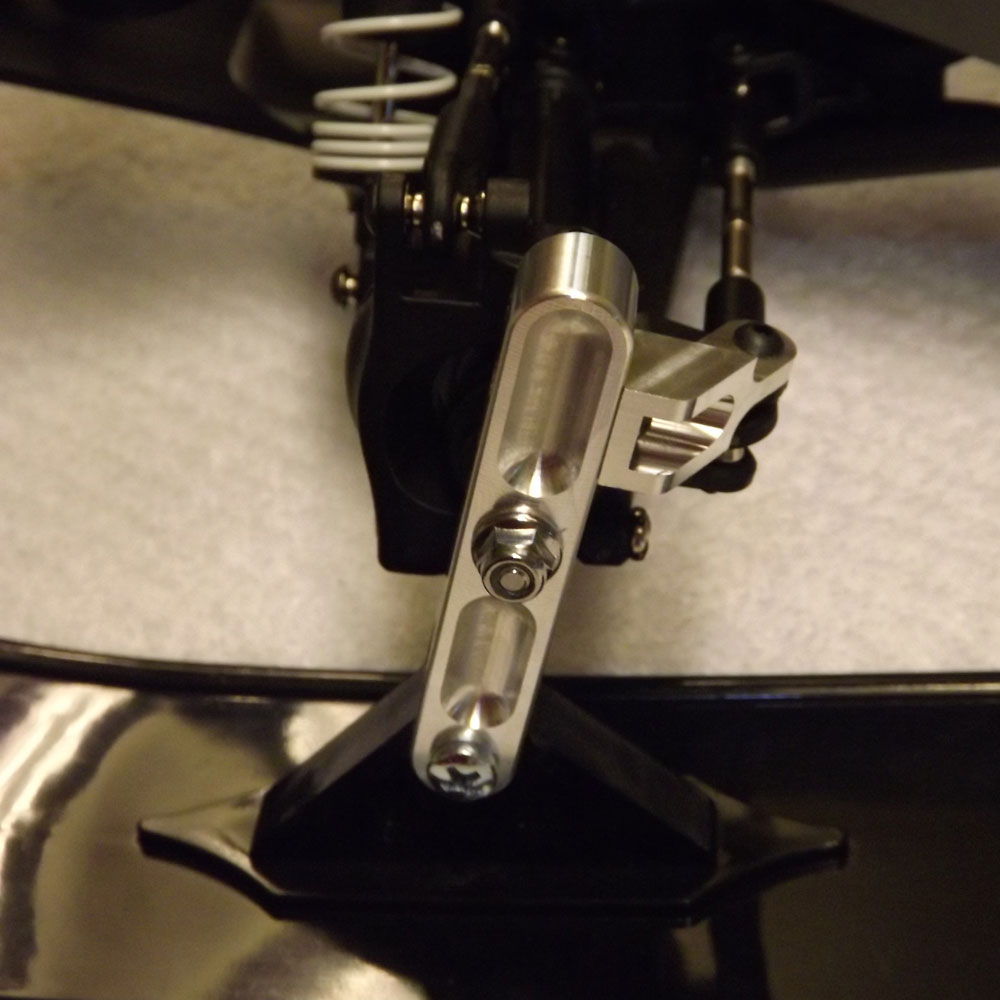
2) Main aluminum ski bracket to its side brace with the provided M3x8 BHSC. You will want to have a left and a right version. 3) Attach the ski bracket to the block with the M4x25 Pan screw and locknut. Leave the M4 locknut a bit loose for now as you will want to adjust this later. You should adjust the nut so that there is a it of pressure holding the skis in place but still allow it to move.
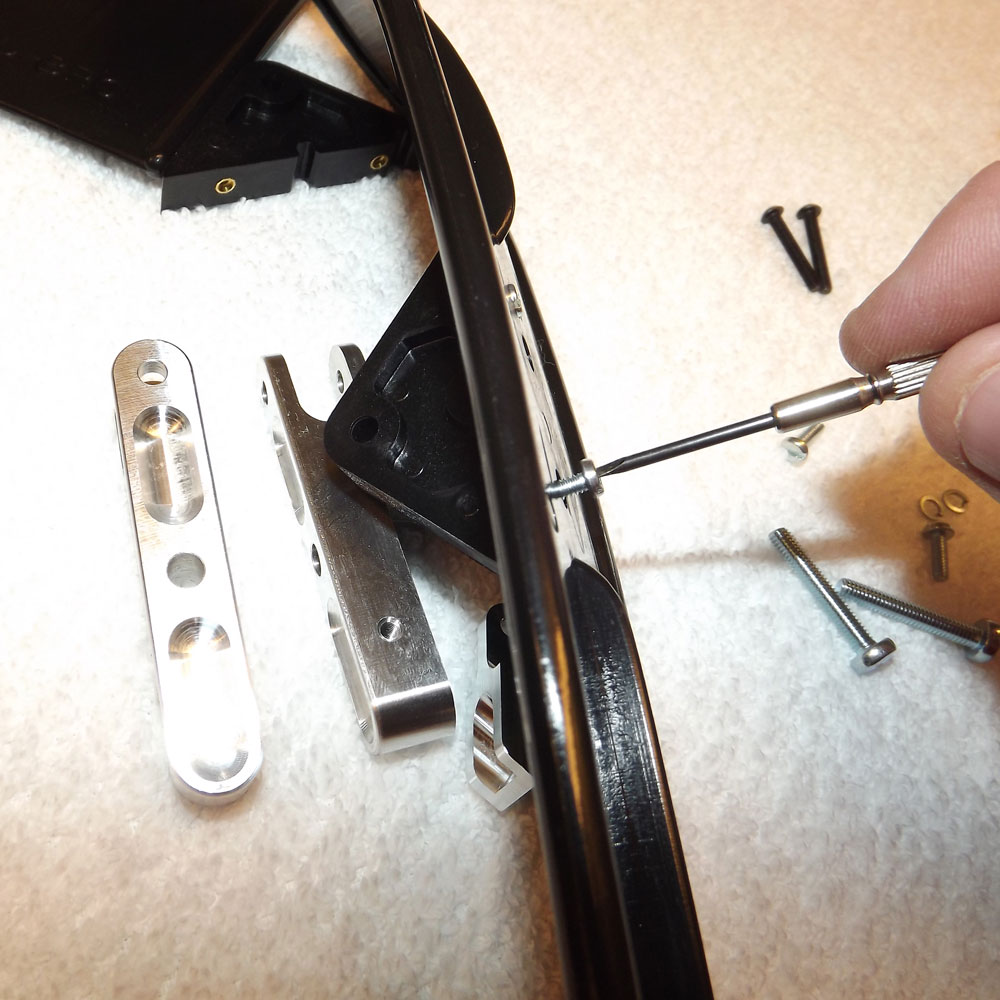
4) Remove the M3 BHSC screw holding the steering link to the front carrier.
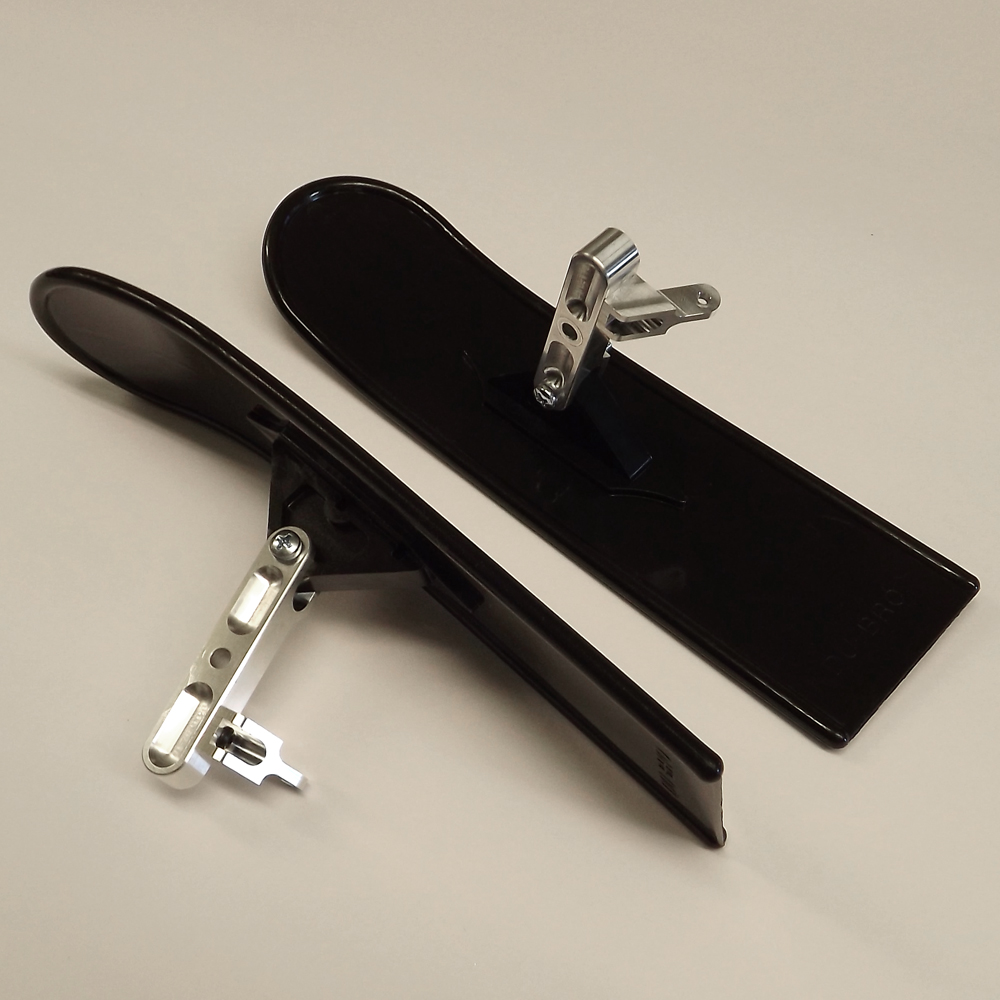
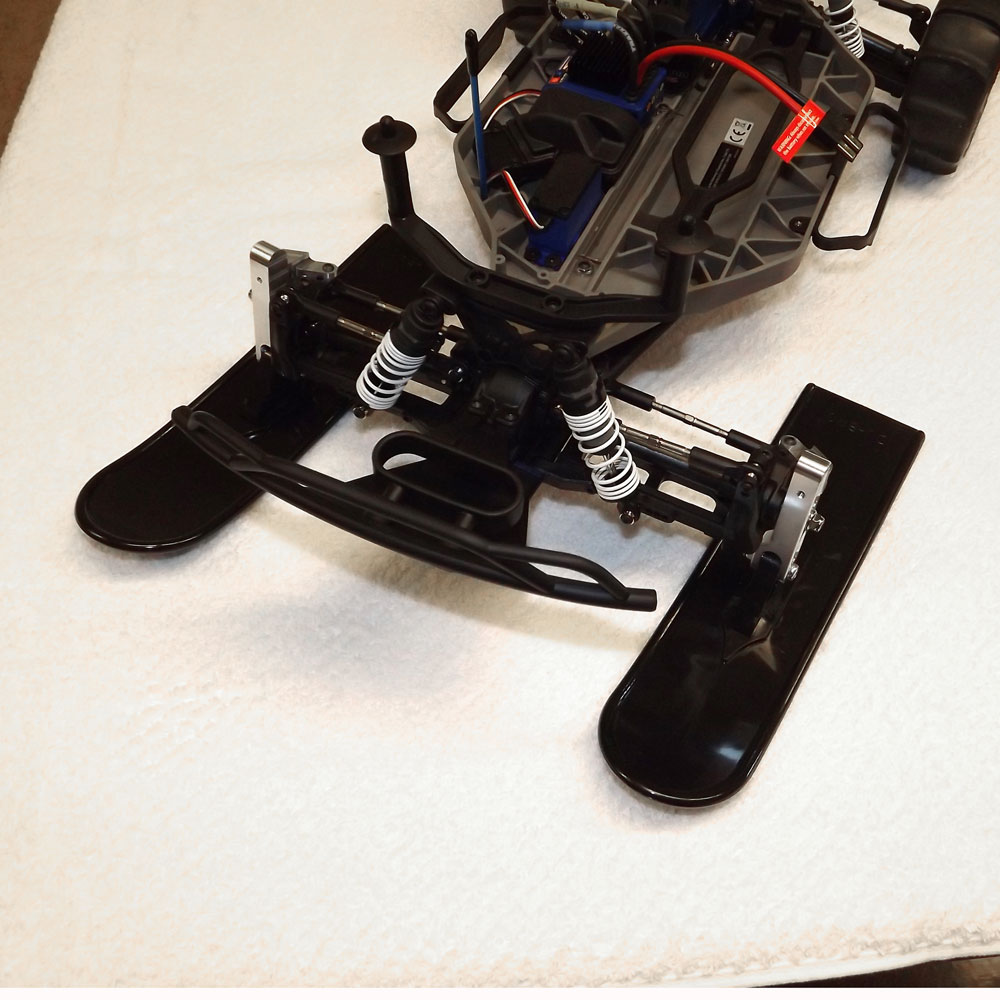
5) Install the completed ski assembly onto the axle and use the provided M3x20 BHSC screw to attach the ski side bracket to the carrier. Install the wheel nuts back in place. Tighten everything up and you’re ready to go! Remember that the M4 locknut holding the main bracket to the plastic block should not be excessively tightened. You want the ski to be able to rotate a bit to contour the the snow and terrain.
We recommend running paddle tires or something with good traction on the rear of your truck for the best performance! |